For Avi's first birthday, my partner Jenn had a great idea and asked me to make a bunting, like the one below, only using photos.
 |
| Avi's personalized bunting |
Picking the photos I wanted took the longest. There are so many cute ones! I have all my photos printed with the matte finish, I like it better than glossy.
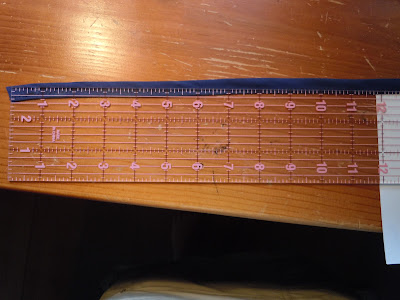
I gave myself 12 inches of bias tape at each end for hanging and measured enough tape so all of the photos would fit. Of course one can make their own bias tape, but I just bought the extra wide double fold. My machine has the attachment to make bias tape, but I haven't even begun to try.... (someone tell me it's easy as pie so I can have the confidence to give it a go).
Then stack your photos in the order you want them and start sewing - I used a zig zag stitch. I marked the bias tape with a pin at 12 inches and then just inserted my first photo.
Continue sewing inserting your photos one at a time until you have come to the end.
From the back, you can see there I how far apart I spaced them.
Voila, ready to hang.
If you hang it in an area where both sides are showing, print doubles and place them back to back when you sew.
When choosing photos, I wanted all of them to be vertical, however, there were a few that just had to be in there. So with Jenn's encouragement, I "let go of perfection". I'm glad I did!


No comments:
Post a Comment
I really do LOVE reading your comments. Thanks for visiting.